Deploying applications on docker
Docker is a very useful tool to easily deploy applications without having to worry about your server configuration, libraries, etc. Many softwares nowadays are packaged in the form of a docker image and lots are supported by the arm architecture of raspberry pis.
Linuxserver.io
Linuxserver.io provided a large and very well maintained catalogue of docker images and configurations you can very easily deploy on many architectures. Have a look at their website and pick and choose the applications that better suit your needs.

Reverse proxy
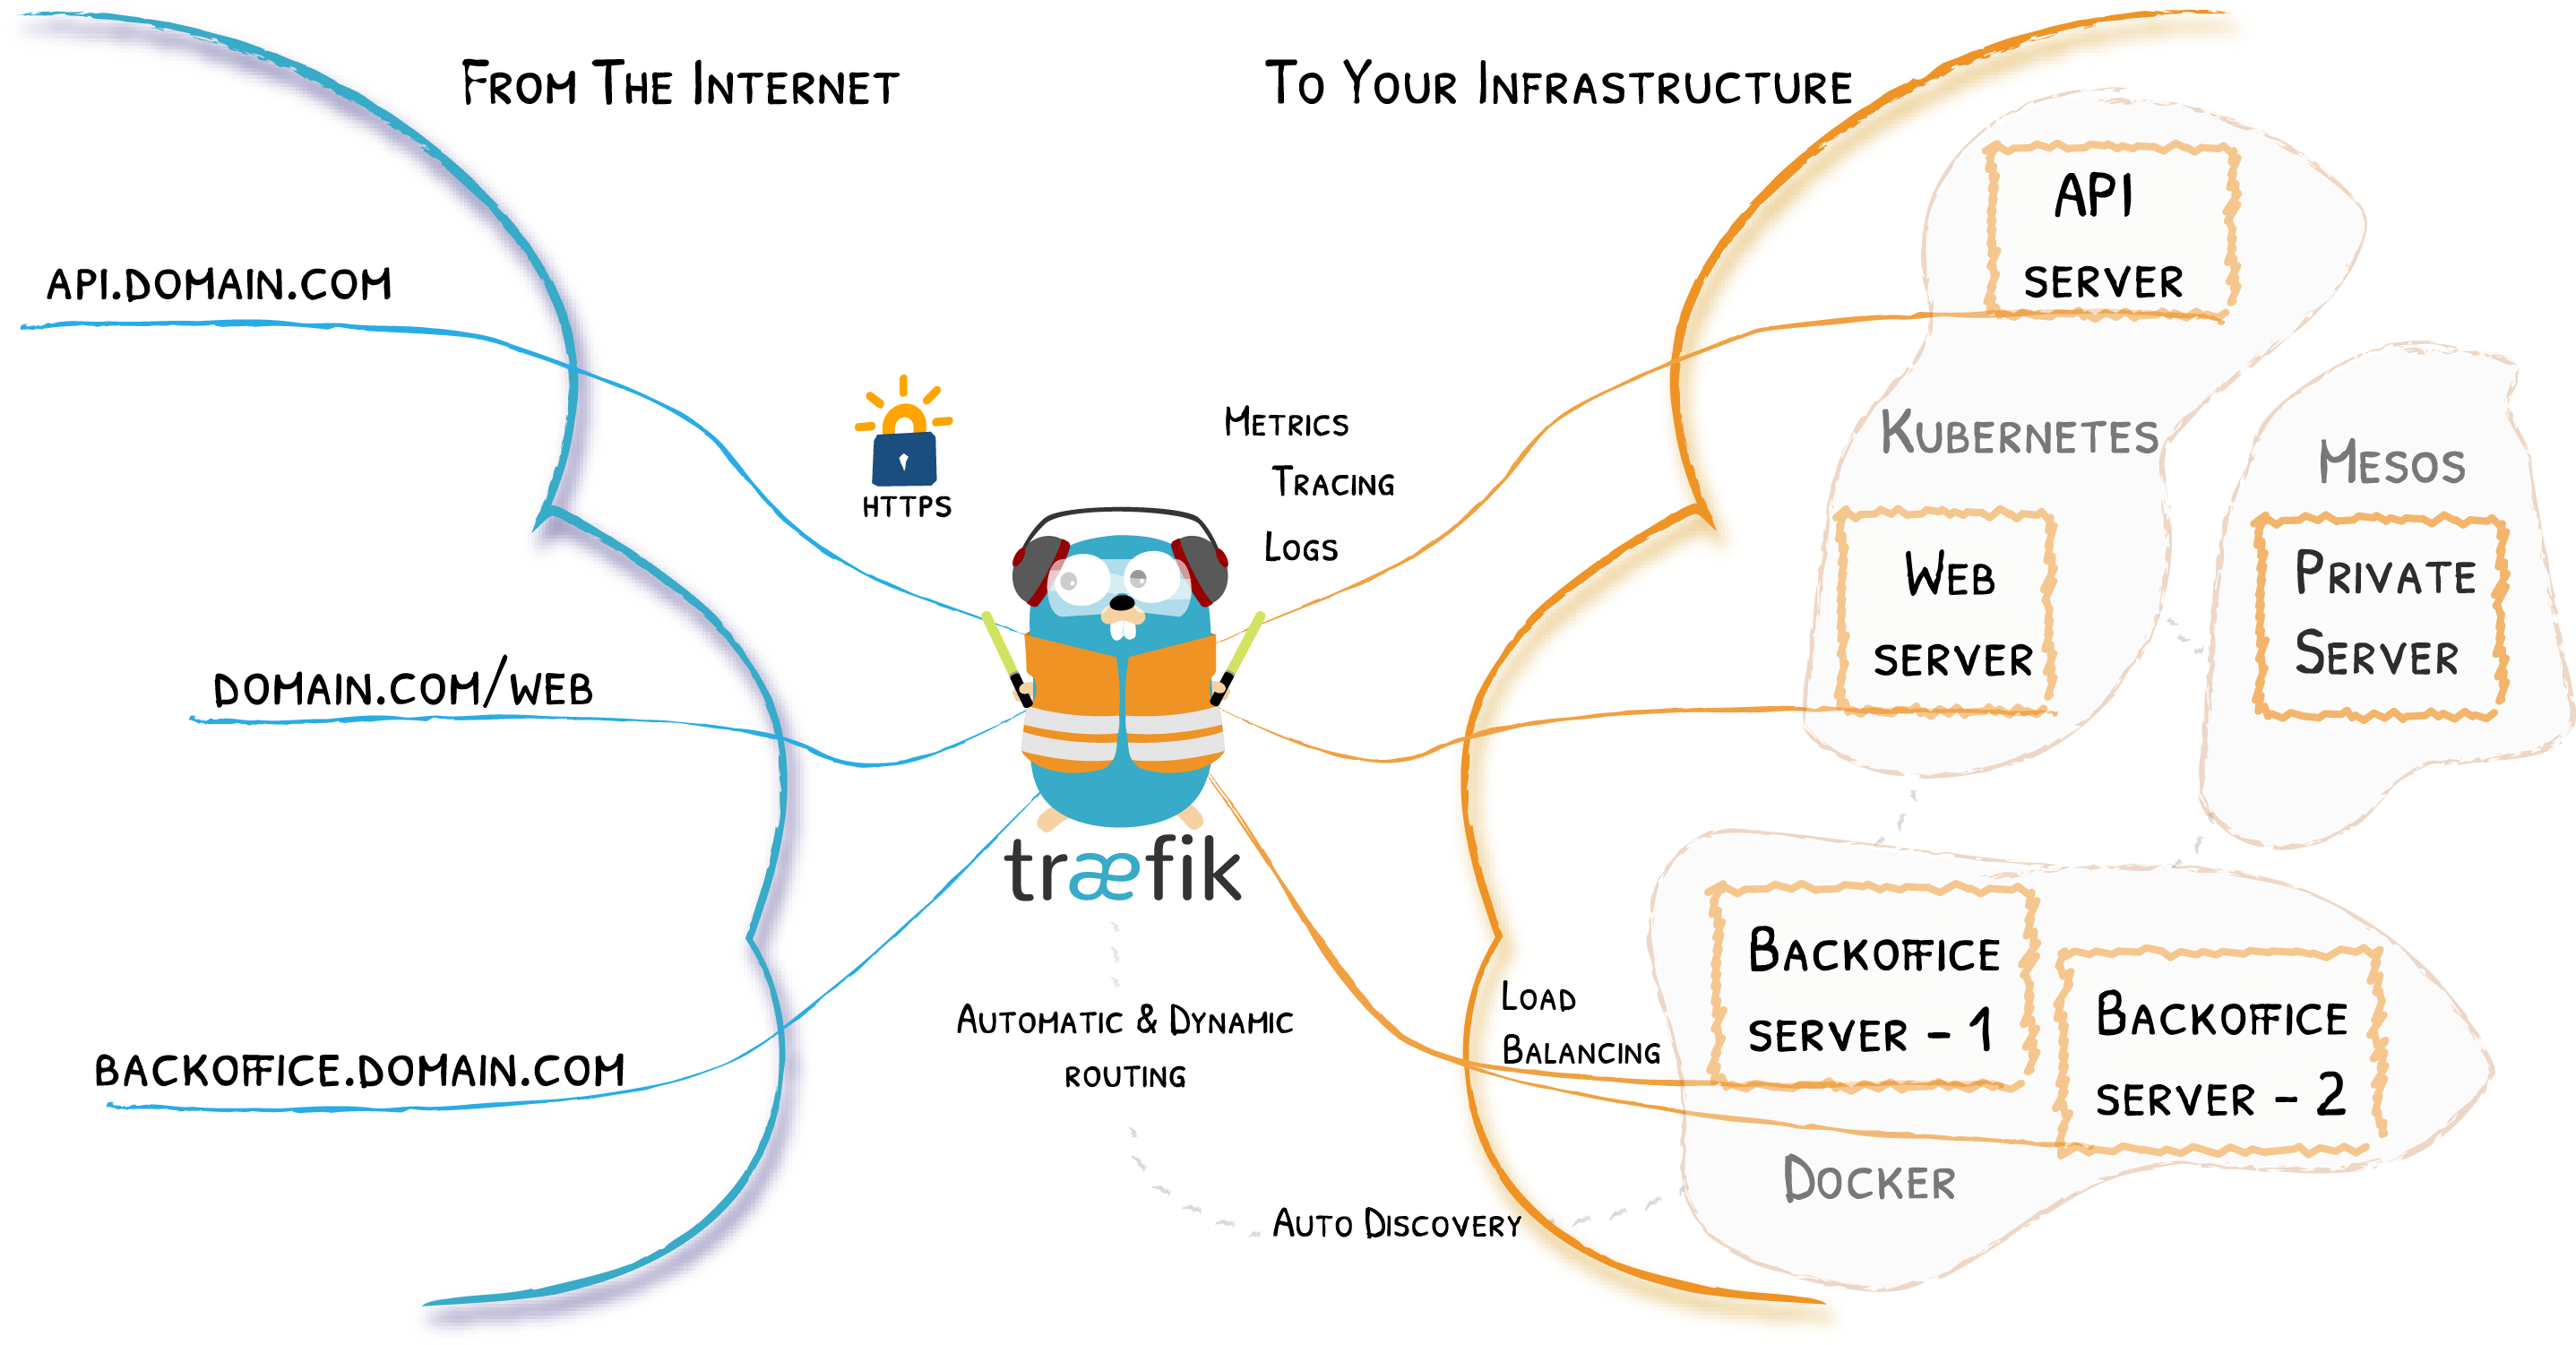
Managing many applications, opening ports and configuring networks might get complex pretty fast. That’s why you might want to use a reverse proxy to have an easy web access to all of your docker services. In addition to simplified access through customizable URLs, reverse proxies allow you to encrypt all of your web communications by redirecting your docker services through https. Have a look for instance at treafik reverse proxy and follow their instructions for installation and deployment.

Pi-Hole
Deploying Pi-Hole on docker may not be as simple as running the container provided on dockerhub. Here is a working install that will allow you to easily deploy pihole in a few steps.
Note that I assume here that you have a working docker and docker-compose install and that you already run a traefik reverse proxy. You will easily find details online on how to install and set this up.
Now let’s go back at our pihole installation: First, create a Dockerfile for your dhcp-helper service as follows
vim Dockerfileand insert the following instructions inside
FROM alpine:3.12
RUN apk --no-cache add dhcp-helper
EXPOSE 67 67/udp
ENTRYPOINT ["dhcp-helper", "-n"]
Now you just need to create the docker-compose yaml file
vim docker-compose.ymlwith the following configuration
version: "3"


services:
  pihole:
    container_name: pihole
    image: pihole/pihole:latest
    ports:
      - "53:53/tcp"
      - "53:53/udp"
    environment:
      TZ: 'Europe/London'
      WEBPASSWORD: '<My_PASSWORD>' # set a secure password here or it will be random
      DNSMASQ_LISTENING: 'all'
      ServerIP: '192.168.1.XX'
      DNS1: '9.9.9.9' # Or your favorite DNS server 1
      DNS2: '149.112.112.112'
 # Or your favorite DNS server 2
      VIRTUAL_HOST: '<Machine_hostname>'
    # Volumes store your data between container upgrades
    volumes:
       - './etc-pihole/:/etc/pihole/'
       - './etc-dnsmasq.d/:/etc/dnsmasq.d/'
    dns:
      - 127.0.0.1
      - 1.1.1.1
    # Recommended but not required (DHCP needs NET_ADMIN)
    #   see https://github.com/pi-hole/docker-pi-hole#note-on-capabilities
    cap_add:
      - NET_ADMIN
    restart: unless-stopped
    depends_on:
      - dhcphelper
    labels:
      - "traefik.enable=true"
      - "traefik.http.routers.pihole.rule=Host(`pihole.mydomain.com`)"
      - "traefik.docker.network=proxy"
      - "traefik.http.services.pihole.loadbalancer.server.port=80"
      - "traefik.http.routers.pihole.tls=true"
      - "traefik.http.routers.pihole.entrypoints=websecure"
    networks:
      proxy:
        ipv4_address: '172.18.0.45'
      backend:
        ipv4_address: '172.31.0.100'

  dhcphelper:
    build: ./
    restart: unless-stopped
    network_mode: "host"
    command: -s 172.31.0.100
    cap_add:
      - NET_ADMIN

networks:
  backend:
    ipam:
      config:
        - subnet: 172.31.0.0/16
    driver_opts:
      com.docker.network.bridge.name: br_pihole
  proxy:
    external: true
And just start the container with
docker-compose up -dthat’s it, pihole is running on your machine.
Other docker images worth considering
Below are some other great applications, unfortunately not provided by Linexserver.io as of today, but that you might want to check out: